      Also Available:  |
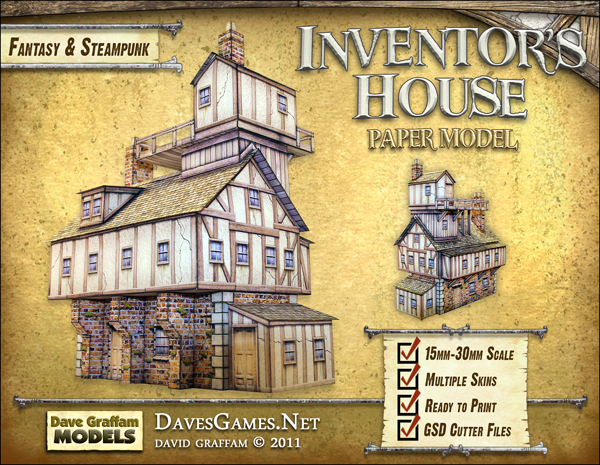
This paper model kit is easy to assemble, requiring just cardstock paper sheets to print on (110 lb. or 199gsm recommended), scissors, hobby knife, paper glue, aluminum ruler and cutting mat. It may look complicated, but every part of the Inventor's House is simple to assemble on its own, and putting it together is just a matter of building up the simple shapes into the complete structure you see here. Because this is such a large model, assembly time is about eight to ten hours.
This model is designed at the popular 28mm-30mm gaming scale, and can be shrunk down to 15mm, 20mm or 25mm scales by simply adjusting the print size percentage on your printer. Tips and advice for altering the scale are included with this kit.
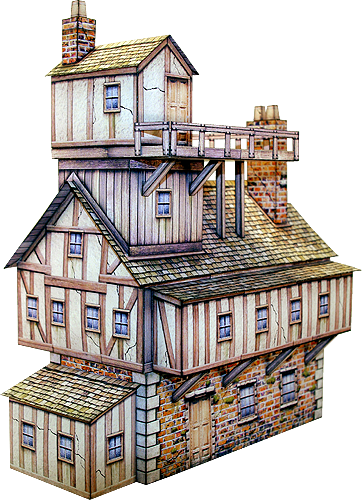
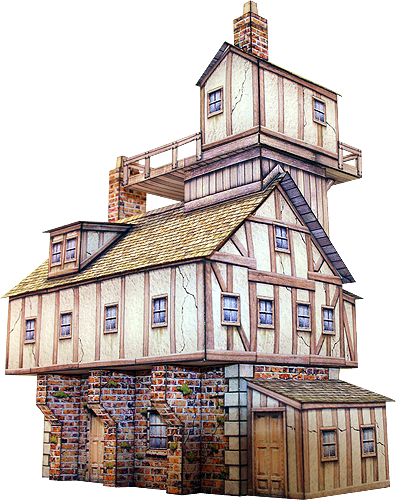
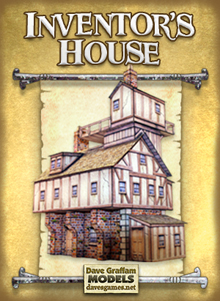
The Inventor's House features multiple texture layers, putting you in control over the final look of your model before you print. If you like, you can print several versions of this model and scatter them around your gaming table. If you don't like the rooftop platform, that's okay -- it's just an option. You can leave it off entirely and create a much more normal looking building. Many looks are possible with this one kit.
You get all of these texture options:
For your printing convenience, this model includes a prepared version that's easy to print right away.
This download includes GSD cutting files for automated cutting machines. Download the most recent versions here:
Click here to download the Detailed Assembly Instructions PDF.
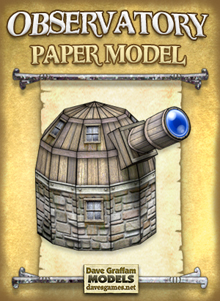
Give the Inventor's House an upgrade with the free Observatory model. It's designed to fit perfectly on the rooftop platform and is a great finishing touch to this building. Click the image below to download the Observatory.
You'll need the free Adobe Acrobat Reader 7.0 or later in order to use these files. You'll need the free Silhouette Studio 1.5.0 to use the GSDs.
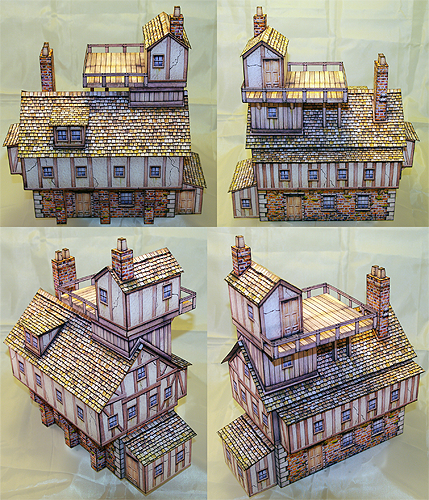
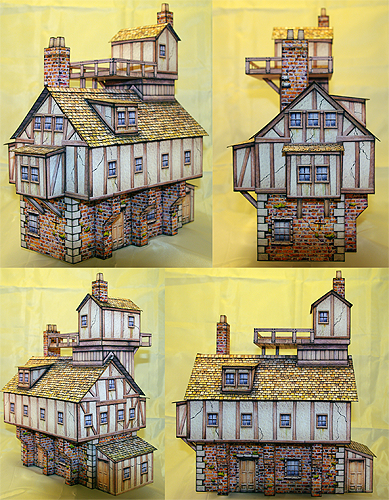
When all of the optional components are used (annex, rooftop experiments platform), this model's footprint is 4" x 9.25", and it stands 11.5" high. Assembly and photos by Uwe Heruth:
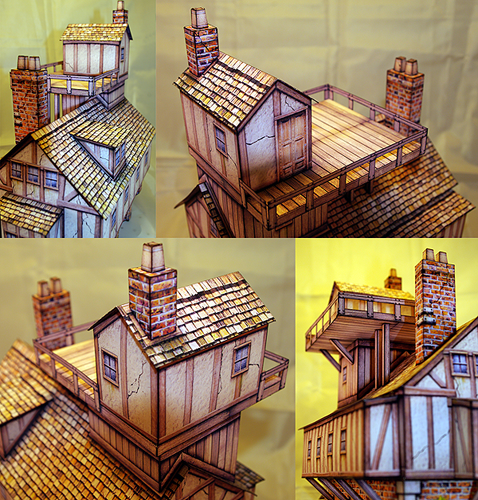
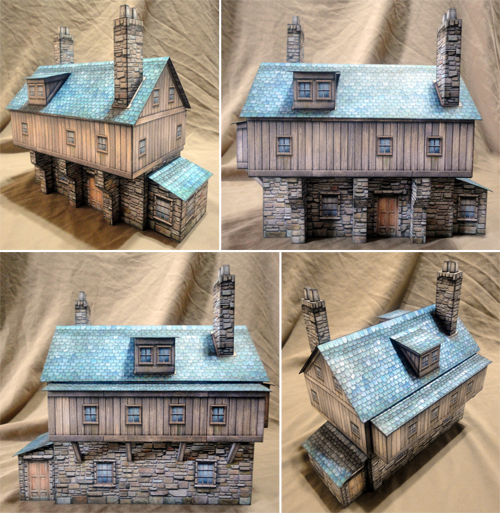
Assembly and photos by Jerry Jensen:
|

David Graffam © 2020
